

How to Install Galvanised Speed Humps
Sticking to the Right Method
Road safety products, such as galvanised speed humps, are more than just a traffic feature that slows cars down. They protect communities. In South Africa, pedestrians remain one of the most at-risk groups on our roads.
According to the Road Traffic Management Corporation’s second quarter report for 2024, pedestrians accounted for 45.2% of all road fatalities. It serves as a clear reminder of how important reliable traffic calming measures truly are.
In today’s blog, we explain how to install galvanised speed humps that last with a step-by-step guide. Each step ensures safety for both drivers and pedestrians. We also cover how to identify signs of poor installation and why using the correct process helps reduce complaints in residential areas and increase the longevity of your product.

Preparation: What You’ll Need
A smooth install starts with the right prep. Here’s what you’ll need to get it done right the first time:
- The right amount of dome speed humps (galvanised and pre-filled with concrete)
- Two steel rod pins per dome speed hump, pre-installed in the base
- Drilling equipment (with correct diameter bits)
- 3:1 ratio epoxy adhesive (our reliable epoxy product)
- Measuring tape and chalk line
- Cleaning supplies (broom, compressor, or air blower)
- Appropriate PPE (gloves, goggles, reflective gear)
Step-by-Step Installation Guide
1. Position and Mark
Begin by measuring the full length of the road where the speed hump will be installed.
Dome-shaped galvanised speed humps are uniform and you will need approximately three dome humps per one meter of road width.
How to mark it out:
- Use a measuring tape to define the total width across the road.
- Snap a chalk line to mark the center of where the speed hump will be positioned.
- Place the segments on the road along this line to make sure they follow the traffic direction accurately.
- Once in place, mark the drill points by inserting a pencil or crayon through each hole to trace the positions onto the surface.

You can also use spray paint or chalk to mark where each bolt hole will go.
Accurate marking ensures a straight and secure installation while reducing the chances of adjustments or errors during drilling.
2. Drill Mounting Holes
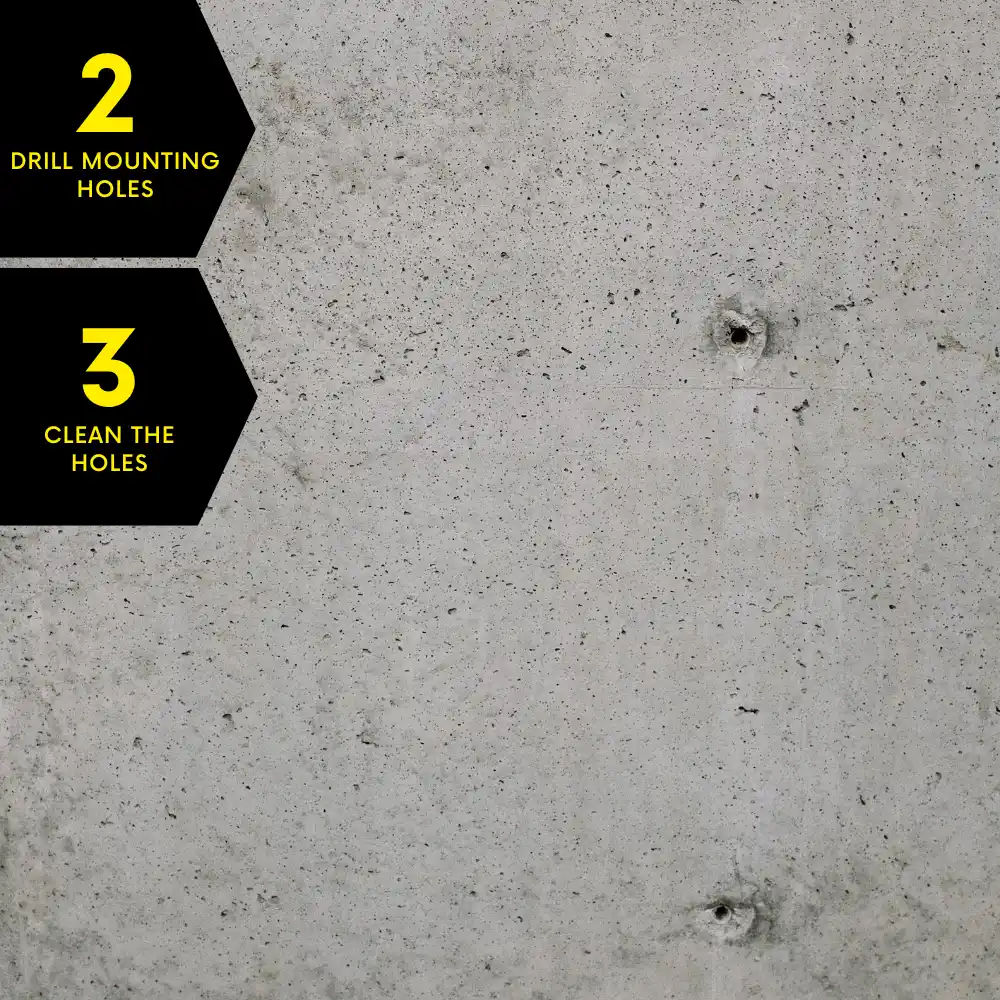
Using the steel rod pins as a guide, drill matching holes in the road surface. The typical pin width requires a 12 to 15 millimeter bit. Check that you drill each hole at a 90° angle and that the holes are deep enough for stable anchoring.
3. Clean the Holes
Clear each hole of dust, debris, and moisture using an air blower or compressed air. A clean, dry surface strengthens the epoxy bond and helps the humps stay stable over time.
4. Apply Epoxy
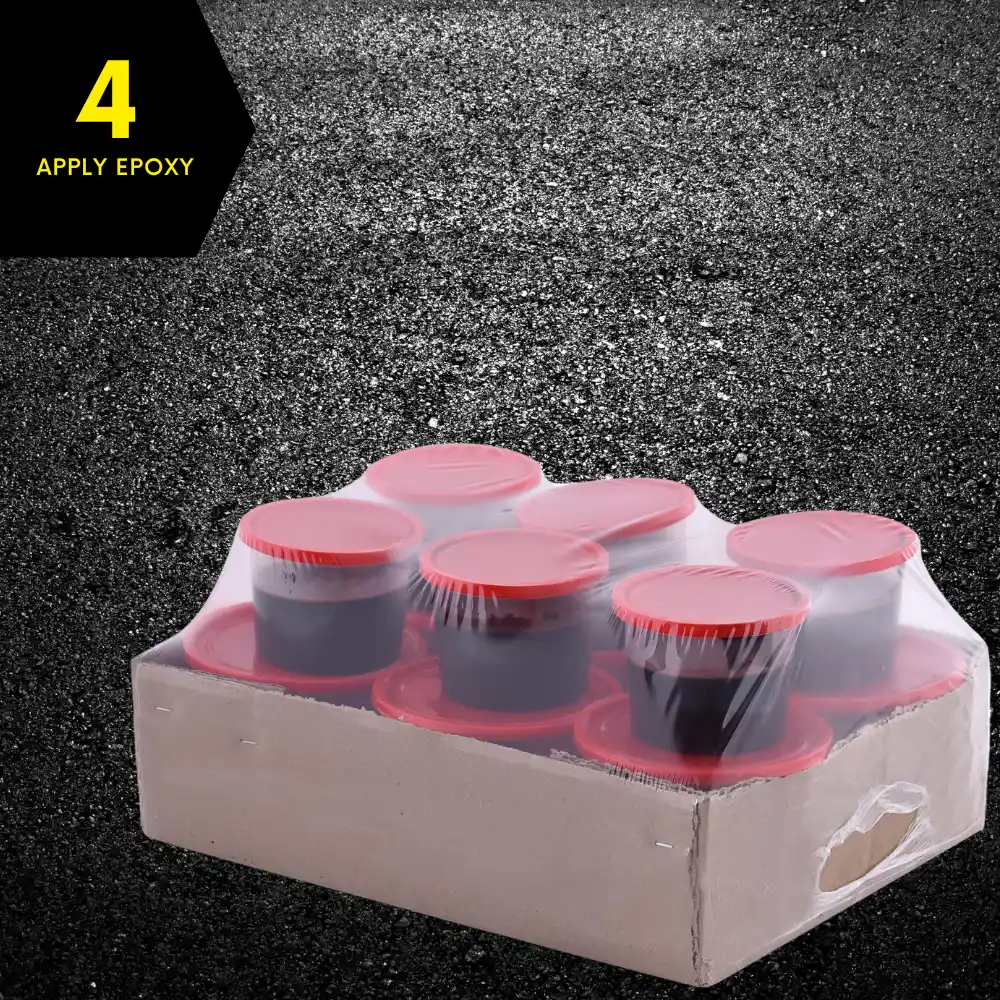
Mix your 3 to 1 epoxy adhesive thoroughly, following the manufacturer’s instructions for best results. See our Epoxy You Can Rely On blog for best practices
For a reliable bond:
- Inject a generous amount of epoxy into each drilled hole.
- Apply additional epoxy around the steel pins and bottom of the speed hump for a full seal.
- Use a trowel or putty knife to spread epoxy evenly where needed.
- Ensure there are no air pockets by completely filling the holes.
- Work quickly but efficiently to avoid premature curing.
Taking the time to apply the epoxy correctly adds years of durability to your installation and prevents common issues like rattling or early wear.

Why Epoxy Is Crucial
Epoxy creates a permanent chemical bond that resists:
- Wheel pressure during braking
- Temperature changes that cause pavement expansion
- Heavy loads from trucks or other large vehicles
Without epoxy, steel pins lose stability, and even pro-grade materials can fail.
Stock up on a great quality Epoxy Adhesive today!
5. Set and Level the Speed Hump
Slide the dome hump into place, pressing firmly until the steel pins are fully embedded. Make sure each dome speed hump is flush with the road surface.
Adjust while the epoxy is still pliable for perfect placement.
6. Allow for Proper Cure
Allow the epoxy to cure properly to ensure a long-lasting bond. Most 3 to 1 epoxies begin to set within two to four hours, but for full strength and durability, it is best to leave the area undisturbed for up to 24 hours.
During this time, block off the installation site and keep both vehicles and foot traffic away. A well-cured bond means your speed hump will stay firmly in place, even under heavy use.
7. Final Inspection
Check each galvanised speed hump for firmness. Apply more epoxy to gaps if needed. Make sure pins are seated and nothing wobbles.


8. Regular Maintenance Checks
Even well-installed galvanised speed humps benefit from a routine inspection. Aim to check every three to six months, or more frequently in high-traffic areas. Keep an eye out for the following:
- Rattling sections or loose ends, which could indicate that the epoxy did not bond properly
- Movement or shifting when vehicles pass over the hump
- Gaps forming between the hump and the road surface, which may collect water or debris
- Feedback or complaints from residents or road users, which could point to hidden issues
If you notice any of these signs, it may be time to reapply epoxy or reset the affected section to keep the installation safe and effective.
Get It Right the First Time
A 2019 report from the Italian National Research Council showed that speed tables and humps reduced average vehicle speeds by up to 50% and led to over 30% fewer accidents after installation.
This highlights the value of good preparation, accurate drilling, and high-quality epoxy when installing galvanised dome speed humps. It is a small effort with a big safety return.


