How to Set Up Lane Closures with Delineators

Traffic Management with Delineator Placement

Road works require the implementation of the correct safety products and good traffic management measures.

To ensure that the site operations are both efficient and safe, it is important to

  • Use the best safety products for the job at hand
  • Divide your site into standardized sub-components.

In this article, we break down how to set up lane closures and what the best product is for this purpose. It will enable project managers to comprehend the traffic flow within the site, with sub-components ranging from several meters in length at localized sites to hundreds of meters in length at major sites.

The Different Purposes Between Cones and Delineators

Before looking at how to set up lane closures, you should consider what items you would use for this job.

Cones are often used to mark lane closures but as a short-term use option. They are mostly chosen to be used during the day as their reflective qualities aren’t as effective as delineators.

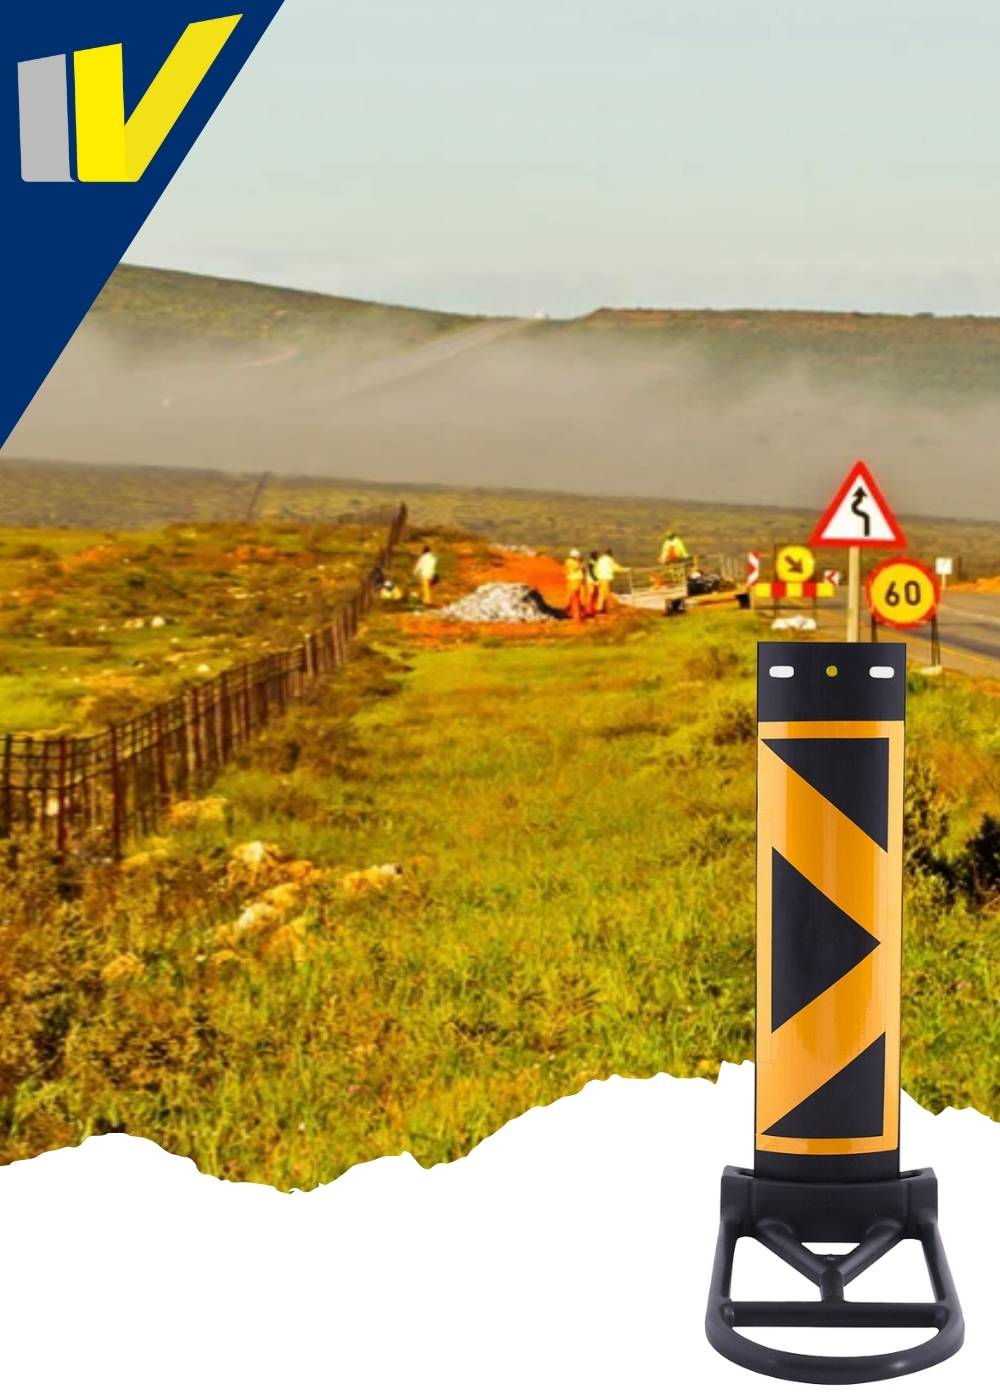
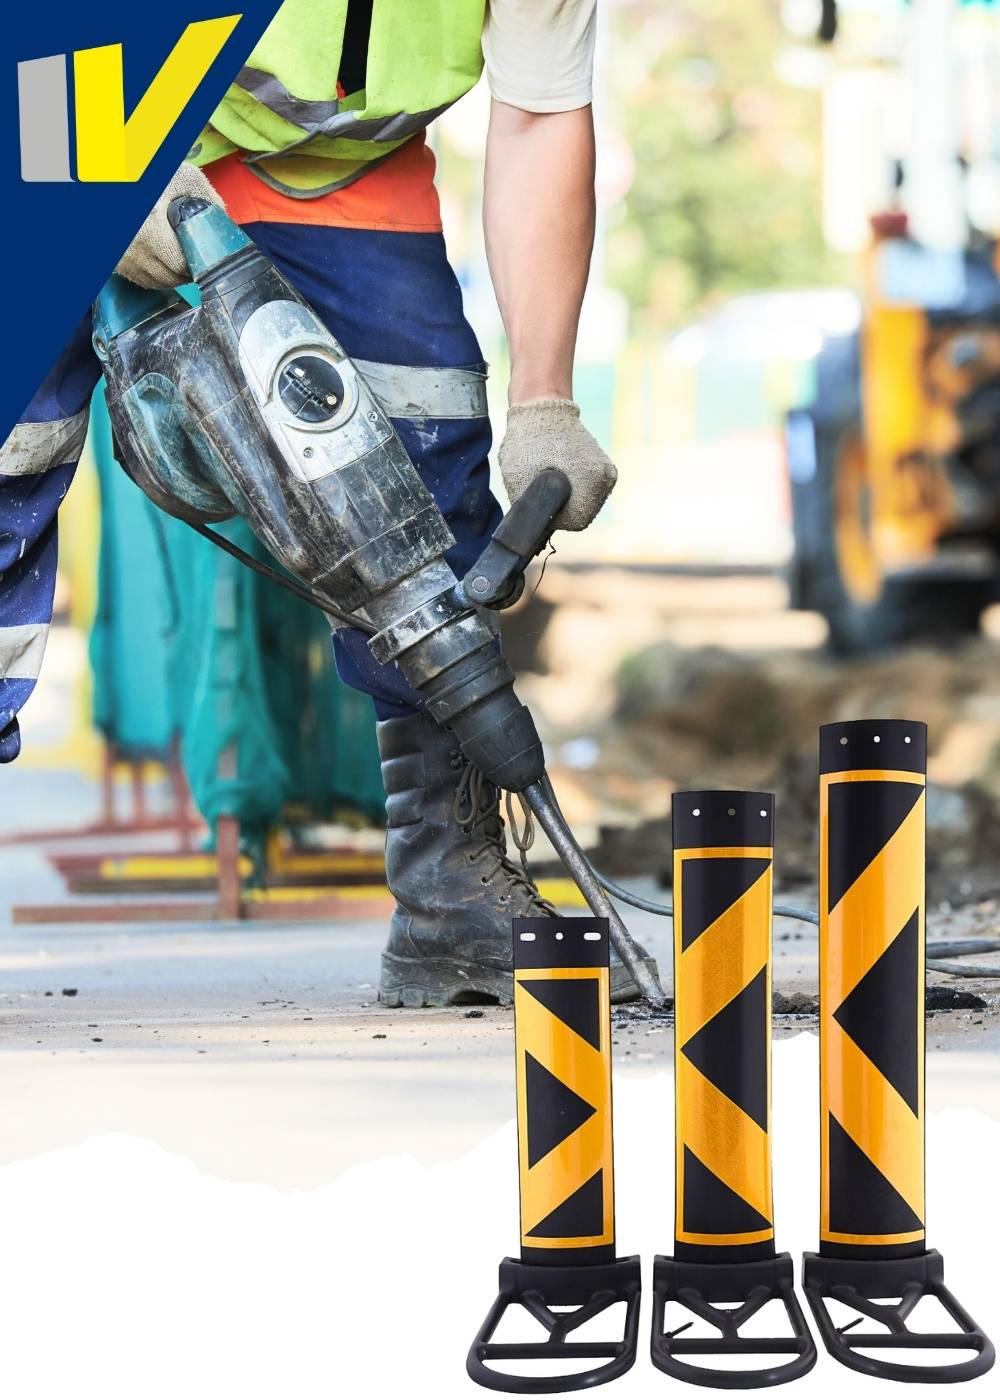
Delineators are used on long continuous sections of highways or through short stretches of roads. Particularly where there are changes in horizontal alignment and where road construction work is taking place.

The design used on delineators creates an arrow effect to point the flow of traffic in the right direction. Their colour and high visibility reflective tape makes it easier for drivers to see in all conditions.

How to Pick the Right Kind of Delineator

Before procuring your delineators, it’s important that you understand the difference between the kinds we supply.

Econo / Normal Delineators

Reboundable Delineators

Manufactured from recycled A.B.S. B.S (Acrylonitrile Butadiene Styrene) is a thermoplastic resin commonly used for injection moulding applications.

A.B.S. Plastic is a copolymer of Acrylonitrile, Butadiene, and Styrene, and generally possesses medium strength and performance at medium cost.

Blade Size Options:

  • 800×200
  • 1000×250
  • 1200×250 size blade

Colour:

  • Yellow/Black.
  • White/Red
Unlike econo delineators, which can easily break or become damaged in harsh environments, our reboundable delineators are built to last.

Made from a premium PVC and EVA blend, using the latest manufacturing processes, they offer flexibility, exceptional strength, and resistance to impact. 

Blade Size:

860mm x 245mm x 50mm (bottom) x 23mm (bottom) material

Colour:

  • Yellow/Black.
  • White/Red

The Standardised Sub-Components of Lane Closure

Due to the many different variables involved on different sites, it’s impossible for the Department of Transport (DoT) to pre-determine the exact management approach for all construction sites.

However, they have determined that it’s crucial to plan and execute the work in a systematic and standardised manner. The primary aim of this is to maximise site efficiency, traffic flow, and safety in all situations.

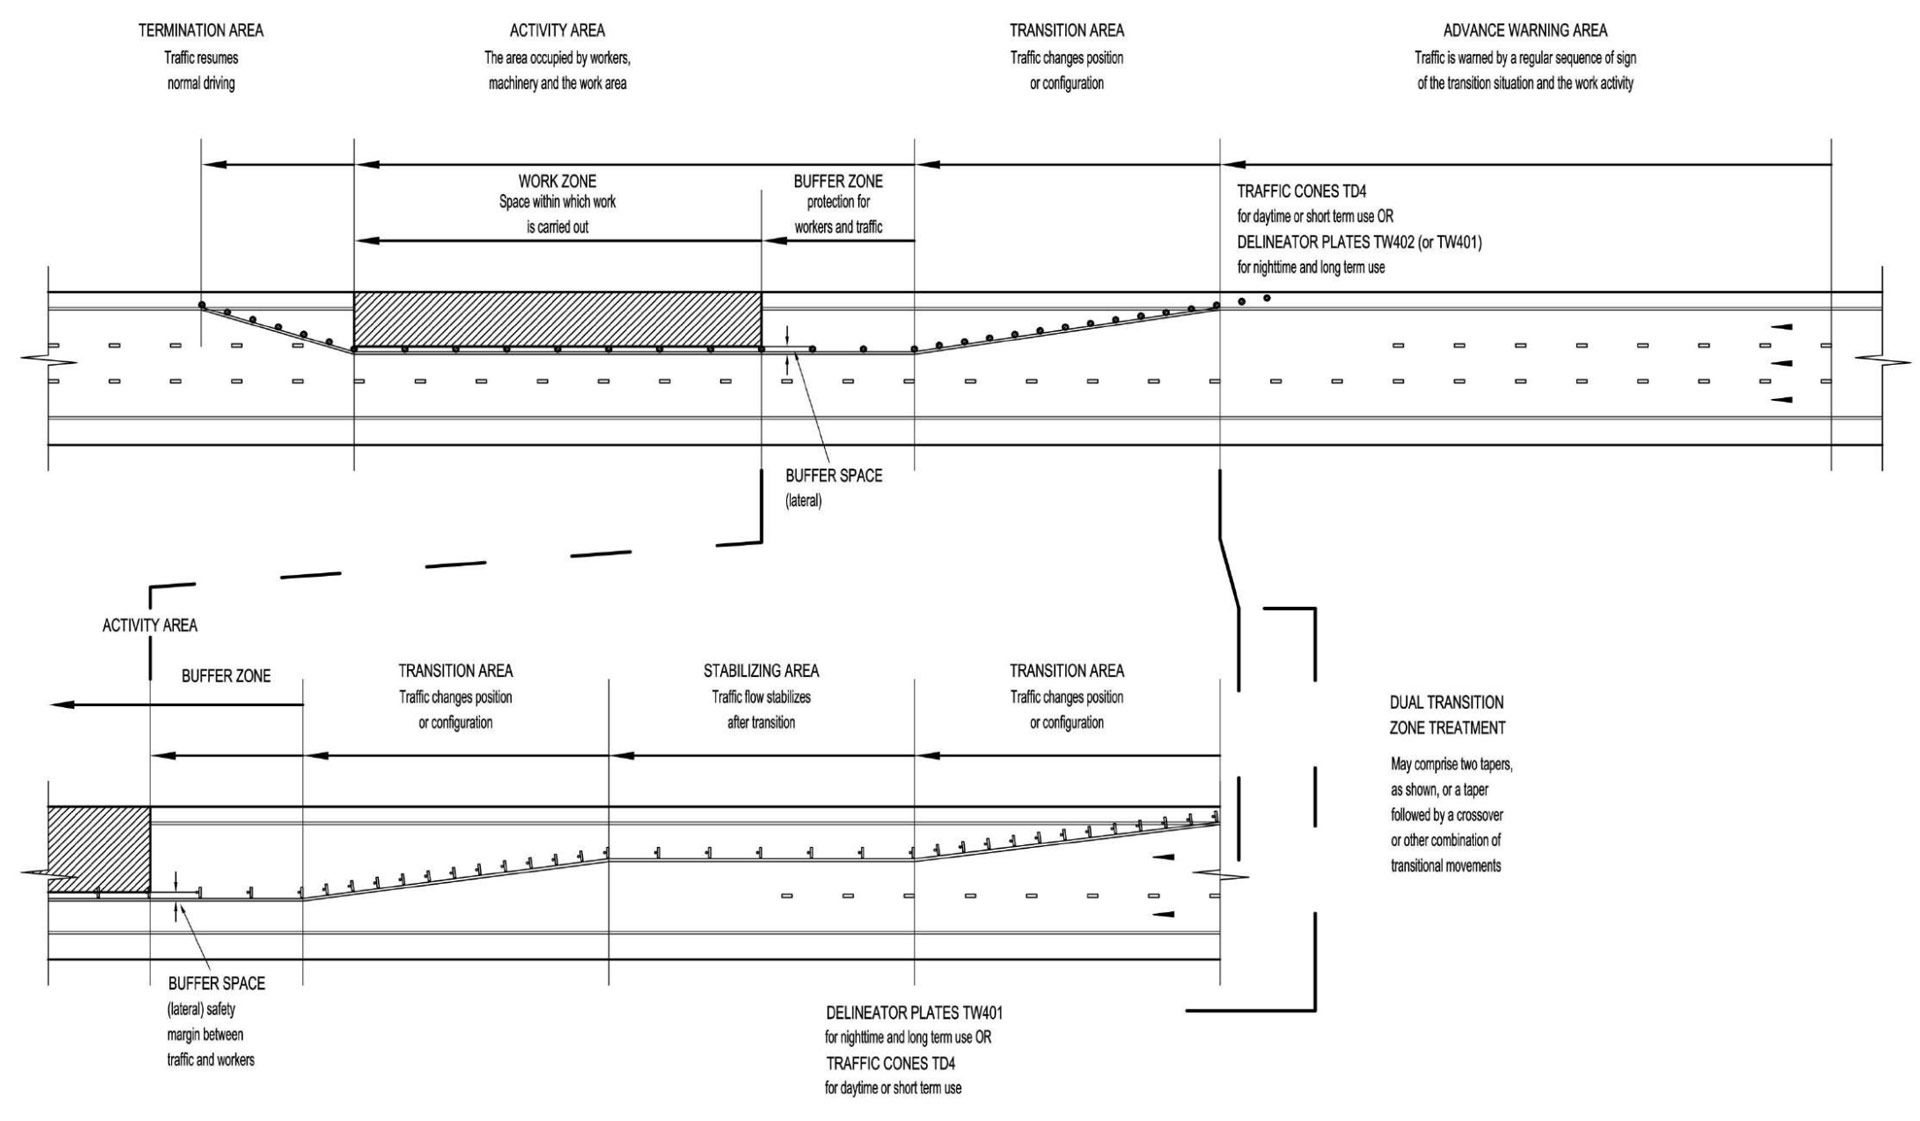
The following sections discuss the six standardised sub-components that are required by DoT in detail.

Image copyright @ Department of Transport

Speed Considerations

When looking at how to set up lane closures, you need to calculate the length of each section of subcomponents, and then take travel speeds into consideration.

As mentioned, each site is different, and each site might have different speed limits and different conditions at play. Some construction sited requires a complete stop-and-go, while others just determined passing speed.

You can use the below table as a general guideline for your calculations. These speeds are based on the average family car.

Dry Road Wet Road
Speed Reaction Distance Braking Distance Total Stopping Distance Reaction Distance Braking Distance Total Stopping Distance
40km/h 17m 9m 26m 17m 13m 30m
50km/h 21m 14m 35m 21m 20m 41m
60km/h 25m 20m 45m 25m 29m 54m
70km/h 29m 27m 56m 29m 40m 69m
80km/h 33m 36m 69m 33m 52m 85m
90km/h 38m 45m 83m 38m 65m 103m
100km/h 42m 56m 98m 42m 80m 122m
110km/h 46m 67m 113m 46m 97m 143m

Delineators are usually spaced 60 to 160 m apart on mainline tangent sections. To determine this spacing distance you need to take travelling speed, conditions, and the kind of delineator and its reflectivity tape into consideration.

1 – Advance Warning Area

Use an advance warning area to alert motorists of temporary conditions on the road near a construction site. This area should have a stepped reduction in speed in 20 km/hr decrements at reasonable intervals (minimum 200 meters) until the final speed limit is indicated.

Repeat the final speed limit at least once within the area. The length of the advance warning area should relate to approach speeds, allowing for speed reduction. For high traffic volumes, a generous length is required to allow drivers to read the sign message and react accordingly.

The length of the advance warning area increases with higher approach speeds and high traffic volumes.

2- Transition Area

The transition area requires the motorist to take action. Such as a shift in position on the roadway without reducing the number of lanes, merging lanes into one, crossing the central median, or entering a separate detour.

To clearly define this area, delineator plates must be used, matching the layout of the preceding guidance signs. For complex road works, multiple standard transition areas should be established, and signage for subsequent transitions must not be included in a specific transition area.

The length of the transition area depends on the approach speed of traffic and the extent of the shift in alignment.

3 – Buffer Zone

The buffer zone is typically situated between the transition area and the actual work site. If there are multiple transition areas, the buffer zone should be placed after the one nearest to the work site. Although the buffer zone can be short, it must be at least 50 meters long.

Its primary purpose is to protect workers by separating traffic from the work site. Providing both a longitudinal and lateral buffer zone is critical to ensuring worker safety.

4 – Activity Area

This is the area in which you will find workers, equipment, and machinery. However, no work is actually being carried out in this area. It’s more of preparation and storage space.

5 – Working Zone

This is the space where actual work is taking place. In less complex conditions, delineators are adequate enough to define the work area, but if there is a risk of vehicles entering the area, temporary barriers should be used.

If traffic is moved away from the work area, a temporary dividing or no-overtaking line should be marked where appropriate, with temporary road studs.

If an asymmetrical lane configuration is used, lane arrangement signs should be used to remind drivers, and these signs should be repeated at regular intervals.

For longer construction sites, ensure there are enough opportunities for overtaking and carefully manage the completion and reopening of work phases to avoid confusion for drivers.

6 – Termination Area

To restore normal traffic flow, a short taper or delineator signs are sufficient for simple cases. However, in complex situations, a reverse crossover may be necessary, and it should follow the same principles as those at the start of the construction works.

The Sign You Needed

If you have been searching for a road safety products manufacturing partner that supplies quality items while caring about you; look no further.

At Venture Plastics Distributors, we care about you, the safety of our roads, and that we supply products you can trust at competitive rates.

Contact Us

010 023 7178

10 Log Road, Roodekop, Germiston, Gauteng 1422

Enquire Today


    * indicates a required field

    error: Content is protected !!